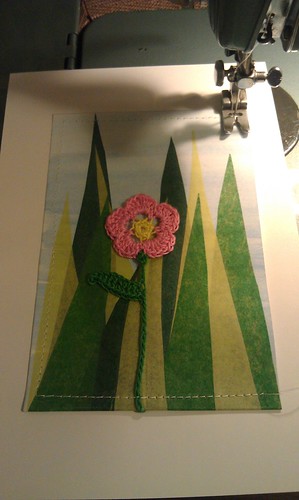
My fascination with fiber post cards started two years ago when I participated in a post card swap. My fun knitted post cards are still one of my favorite crazy bits of crafting. And as a bonus they were wonderful valentines as well. When I participated in the same swap last year I wanted to be sure and once again include fiber. And I came up with my little crochet flower postcards. Another successful bit of mail-art.
So putting these past experiences together when I thought about making valentines this year I quickly came up with the idea of putting crochet hearts onto a postcard.

To start I needed a crochet heart. Alas I have yet to try any kind of patterning on my own so it was off to the interwebs. Happy I came across this perfect tutorial for a simple little heart on pinterest (which by the way is highly addicting and highly recommended). I made probably 20 of these little guys quite quickly one evening. The only modification that I made to the tutorial was to use the magic ring as my center instead of the first chain. This kept the heart neat and tidy with a solid center. My first attempt following the directions exactly was a bit wonky as that first chain stretched way too much.
This is as far as I've gotten thus far so bear with me and make a picture in your head.
My plan is to sew them onto a piece of card stock. Now sewing into the heavyish stock really isn't so easy, in fact I found it to be pretty darn painful/ineffective when last I tried. The solution is to poke holes wherever you'll be brining the thread up. I plan to hold the heart on the cardstock on a piece of corkboard and then poke holes just inside of the shape. This way I can invisibly stitch the heart securely down onto the postcard. I will also tie off the thread in a number of different places so that if the thread breaks in any one location the damage will be localized and the heart will stay securely on the card.
It really is amazing how one can take tools that seem so geared towards a specific craft and morph them into the perfect tool for something a bit less obvious. Stitching around the edges of the cards fastens them securely together quickly, simply and cleanly.
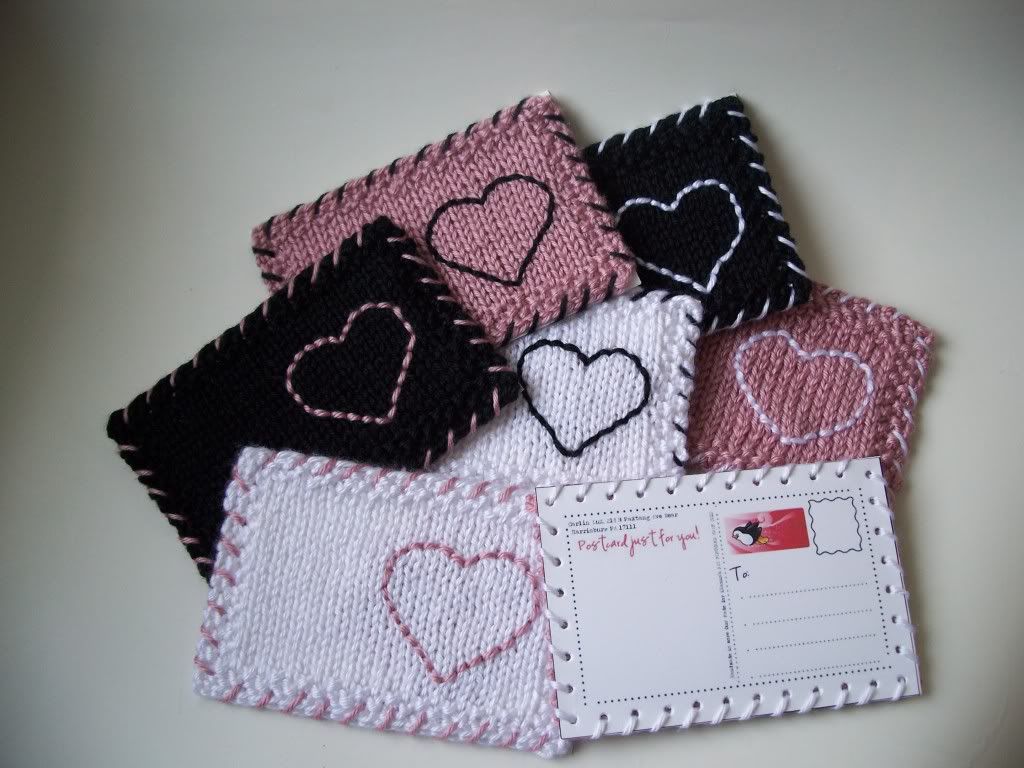
 Now if you don't have a sewing machine there is also the option to do something more like my first knitted post card. In that instance I placed (well I poked, but a hole punch would be easier) holes around the outside of the cards and then just sewed loops around the outside. This method adds its own decorative element as well.
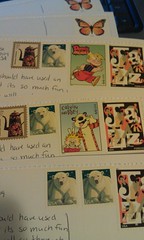
Once everything is together you really can mail them just like a regular post card. Albeit at a higher rate. The postcard is too thick to fit in the postcard rate so you can use a regular letter stamp $0.45 now and then you need to add a $0.20 non-machinable charge.
I can only hope that the friends and family who will be receiving these Valentines enjoy them as much as I think I would. Snail mail really is so much fun!